Tip
This is the first step of the Preparing Scenario Submissions user guide.
To learn how to prepare data for scenario submission, go to model-registration.
Access and permission management
There are public and project-internal (private) database instances or platforms. Access to project-internal platforms is managed via the Scenario Services Manager.
Registering in a Scenario App
To register a new user account, go to https://manager.ece.iiasa.ac.at/register. Once you click Register, a message will be sent to the registered e-mail address to validate the account.
Accessing a Scenario App
In order to have access to a project-internal app, users must be registered in the respective accessor group. Gated apps are accessible to any user logged into their Scenario Services account. Public apps are accessible to any person by default.
Access permission for project-specific Scenario Apps is configured in the Manager. You can see all public and private database instances to which you have access, including your view permissions, in the Services tab of the manager.
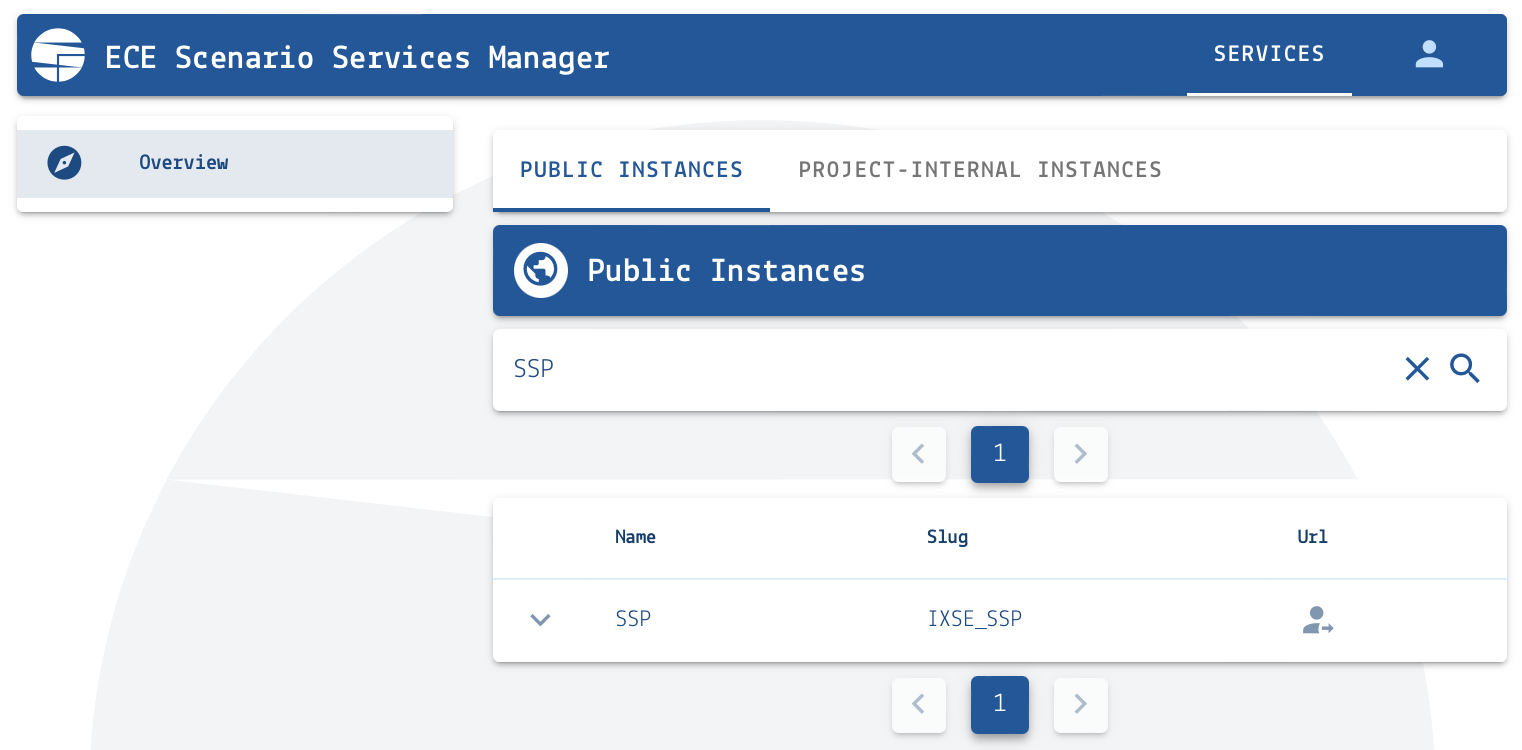
Screenshot of the “Overview” page of the Scenario Services Manager
To participate in a project and gain access to an instance, please register an account and send the username to an administrator from the IIASA Scenario Services team and the appropriate project manager(s). If you require upload permission, see the next step.
Upload permissions for a Scenario App
In order to submit scenarios to the Scenario Explorer, the user must be registered in the appropriate modeler group(s).
To have submit permission, please contact an administrator from the IIASA Scenario Services team, or the appropriate contact person in the project, specifying the model name(s) and version(s) to be uploaded (e.g.: Model-Name v1.0).
You can see all public and private database instances to which you can upload data in the Services tab of the manager. You can also confirm the model(s) you can upload in the Scenario App, in the Scenario Submission page, see Scenario Submission.
Managing user permissions
Users can also be Group Managers, allowing them to manage user membership in a group. After logging in to the Manager, group managers can see a User Management tab.
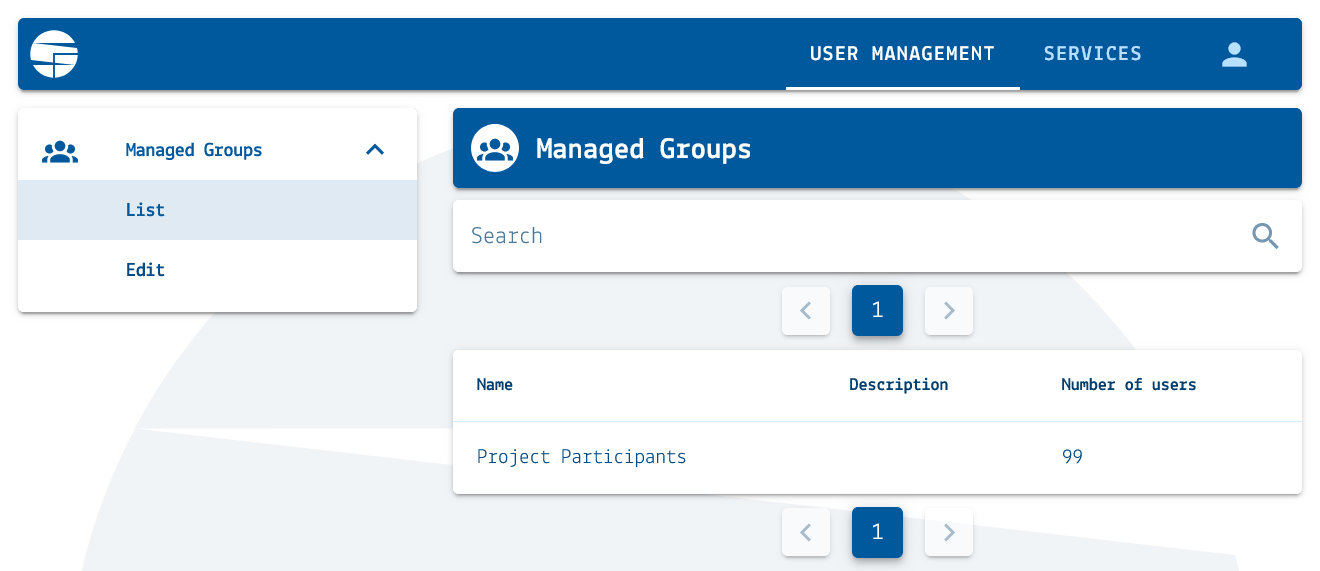
A group manager can see and access the User Management tab in the Manager navigation menu.
In the User Management tab:
Go to Managed Groups > List to see all the groups you manage.
Go to Managed Groups > Edit to see all users in a group, add, and remove users.
Both menus support text search.
To manage users in a group:
Select a group from the list or by searching. The group page will open in the Info tab.
Go to the Members tab to list all current users.
To add a user, go to the Add User section at the bottom of the page, input a username or e-mail, and click the Add User button.
To remove a user, search for its username or e-mail in the Current Members section at the top of the page, and the red trash bin icon next to their entry.
Warning
There is no confirmation step before removing users from a group. Make sure you are certain about the user(s) you are removing before proceeding. To undo a removal, you must manually add the user again.